
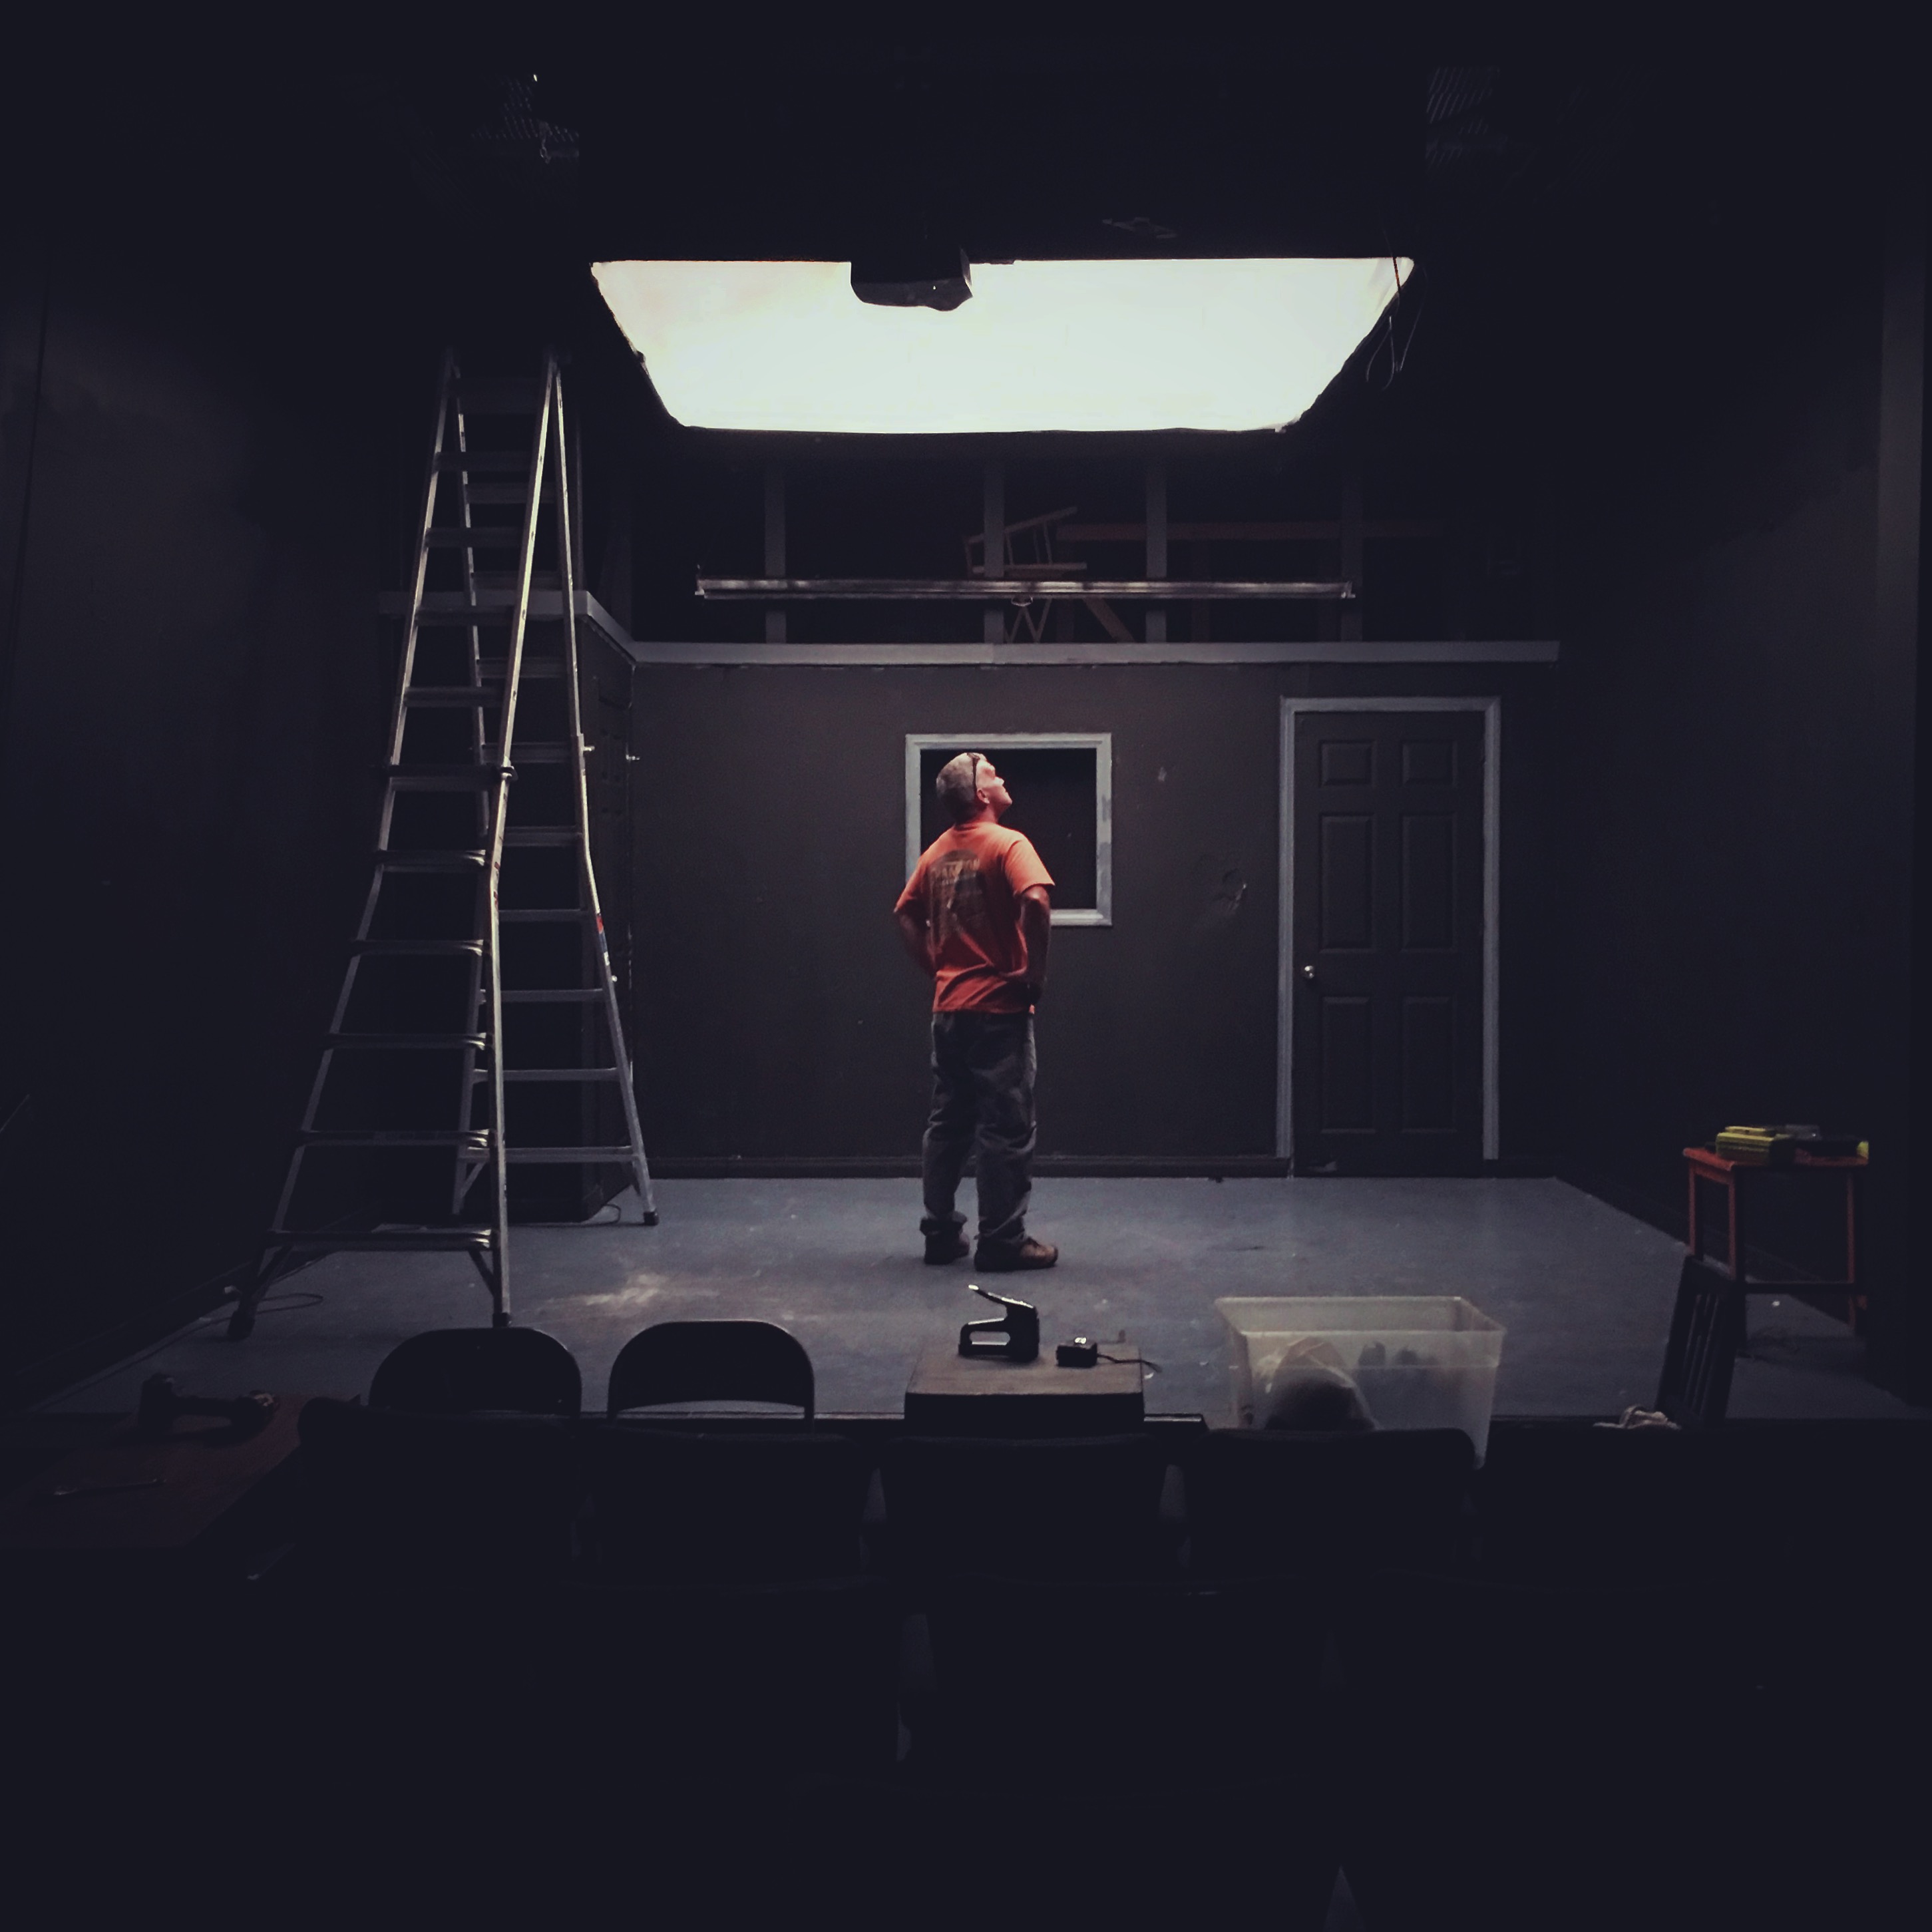
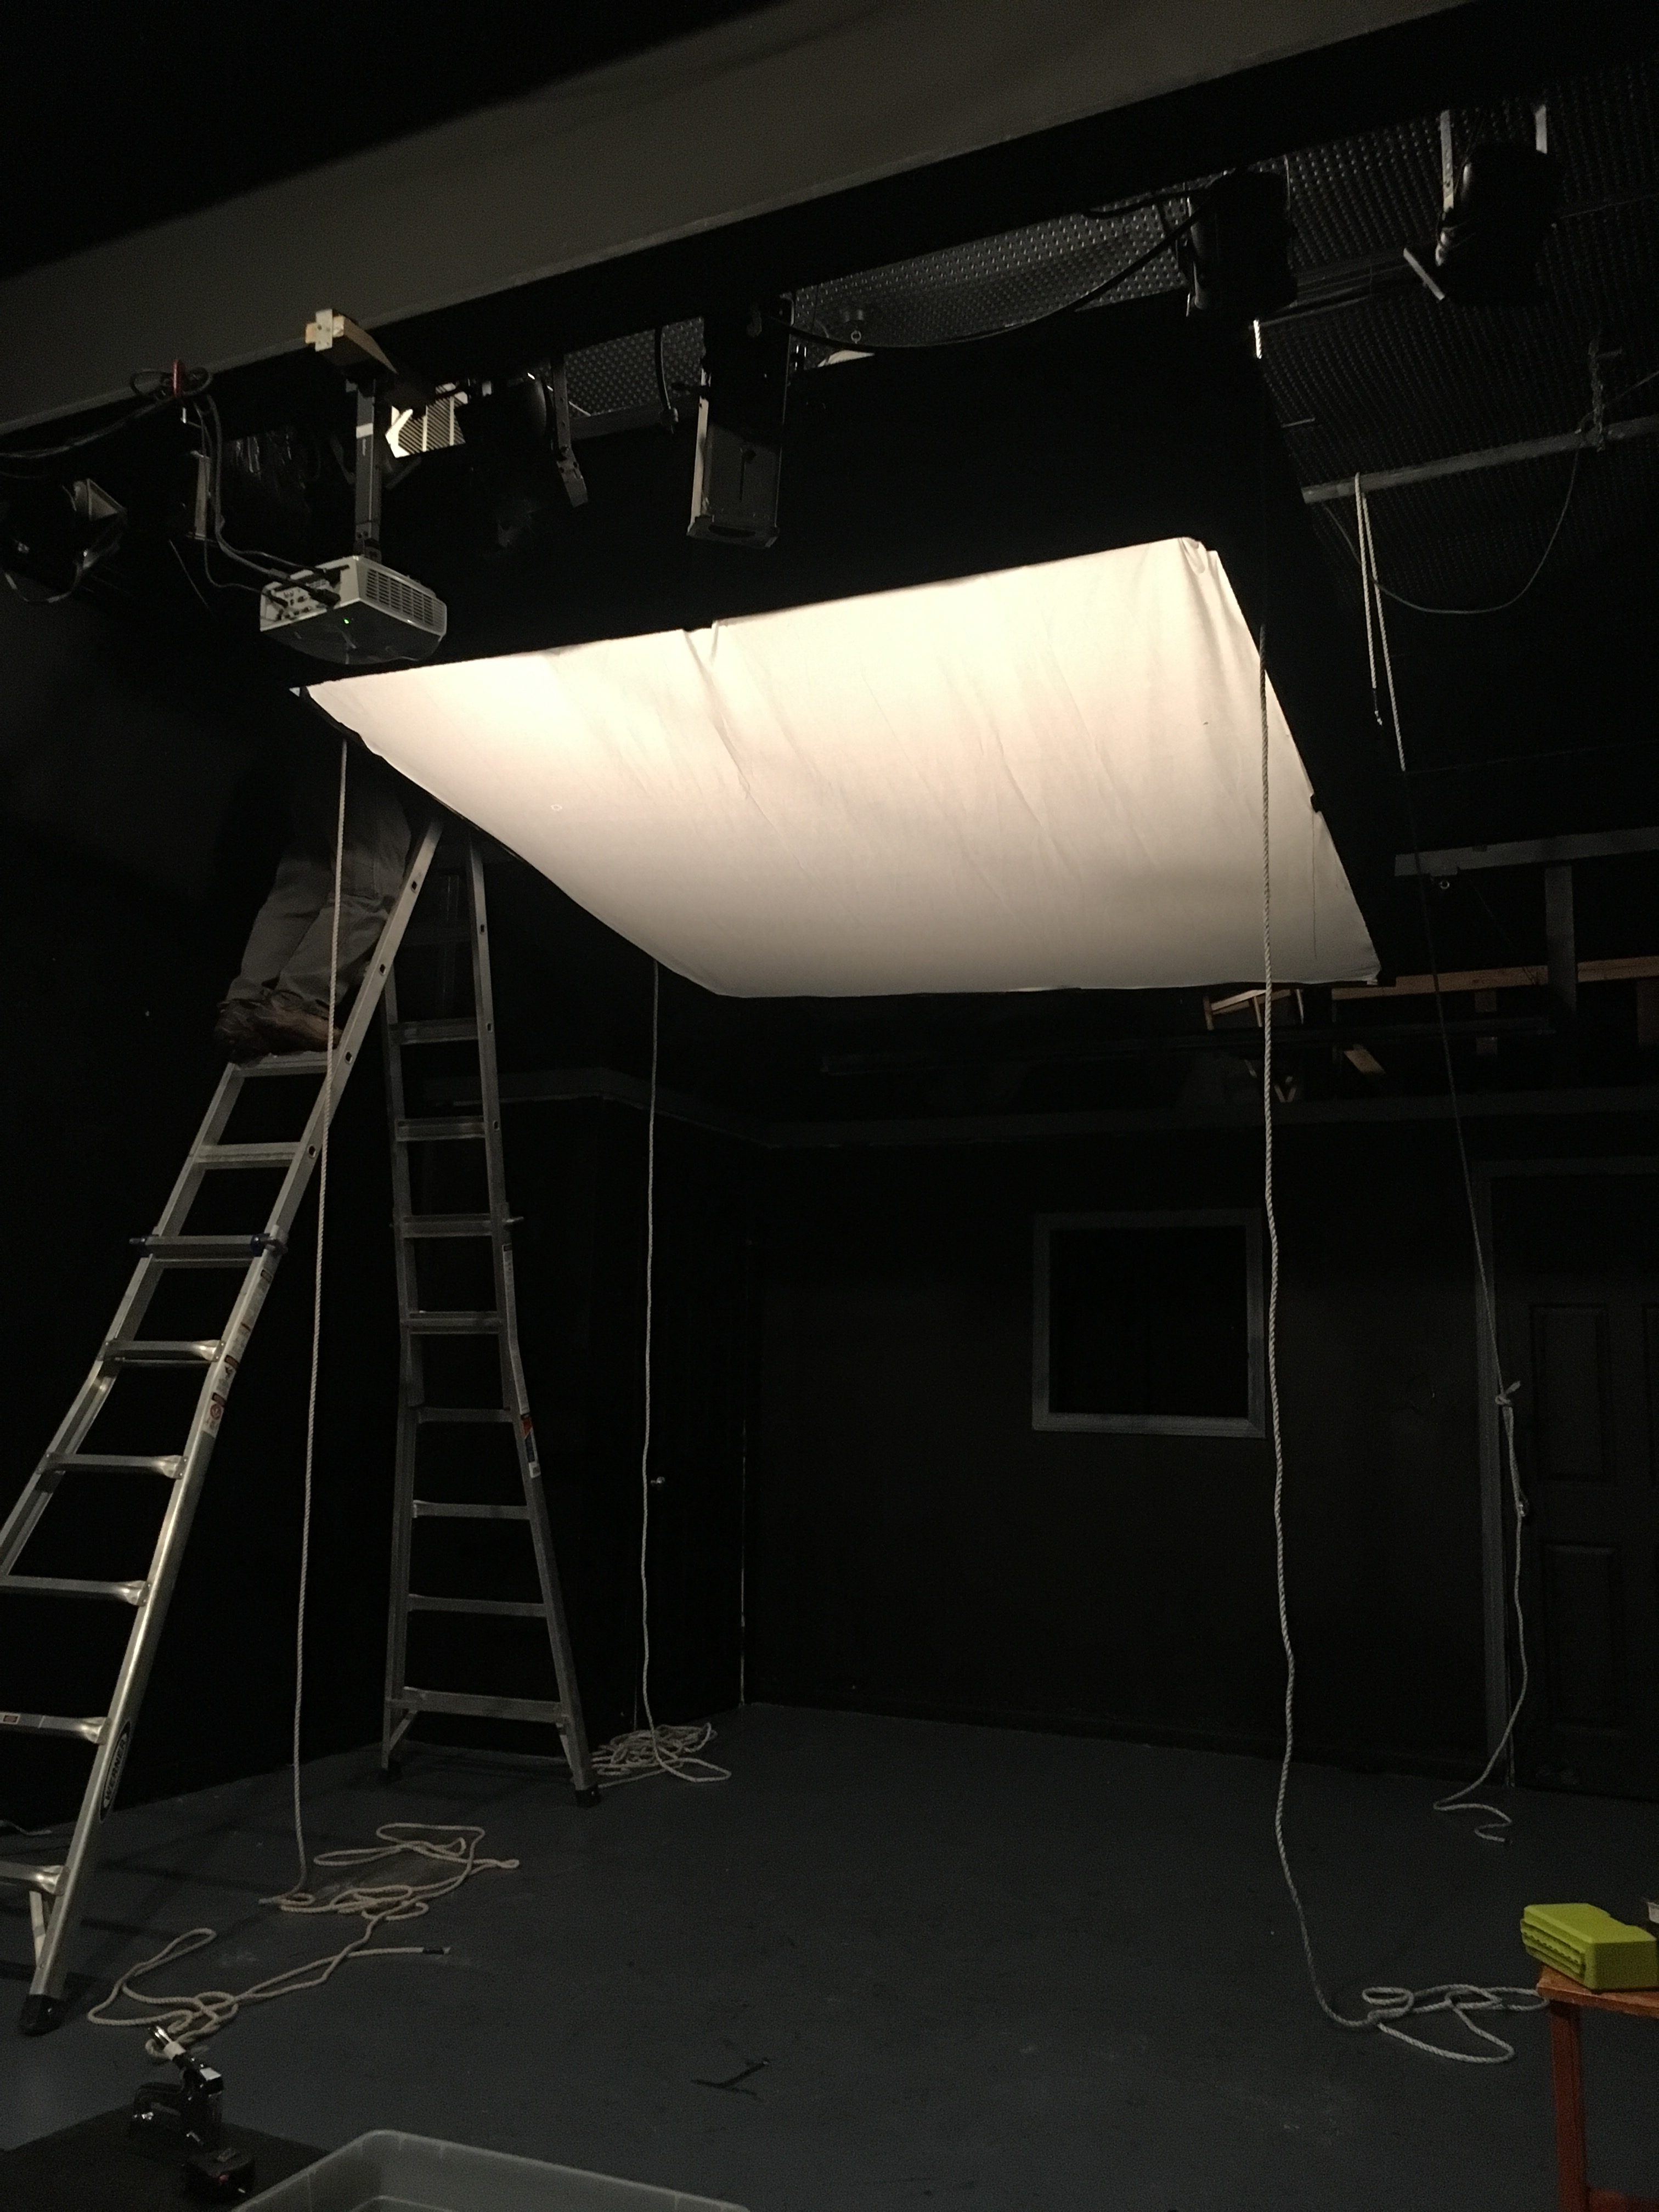
My multi-talented wife decided she was going to put on a play that her and her actor friends had all worked on a few years ago in a class, and just like with indie film, indie theater is very DIY. The entire project was designed around one set. The canvas was a 16′x18’ hotel room that would be the setting of lots of activity and lots of characters, often all on stage at the same time. So the task was to come up with a lighting plot that would work for everyone without being too harsh and theatrical. I suggested the idea of doing an overhead softbox, and they all loved it. The catch was: I didn’t have any idea how to do it without my normal rented grip gear from set. Luckily, I knew some people to call to help me figure it out.
I have to start by giving credit to my Key Grip friend Kyle Kolding for coming over and making sure the idea I had was both logical and safe enough to carry 3,000w of electricity; wrapped in duvetyne and muslin; and hung over a cast of humans for hours. After all that was taken into consideration, we decided to use a simple t-post 1’x 3′ skeleton of treated pine to keep it lightweight, sturdy, and simple. It looked something like this:
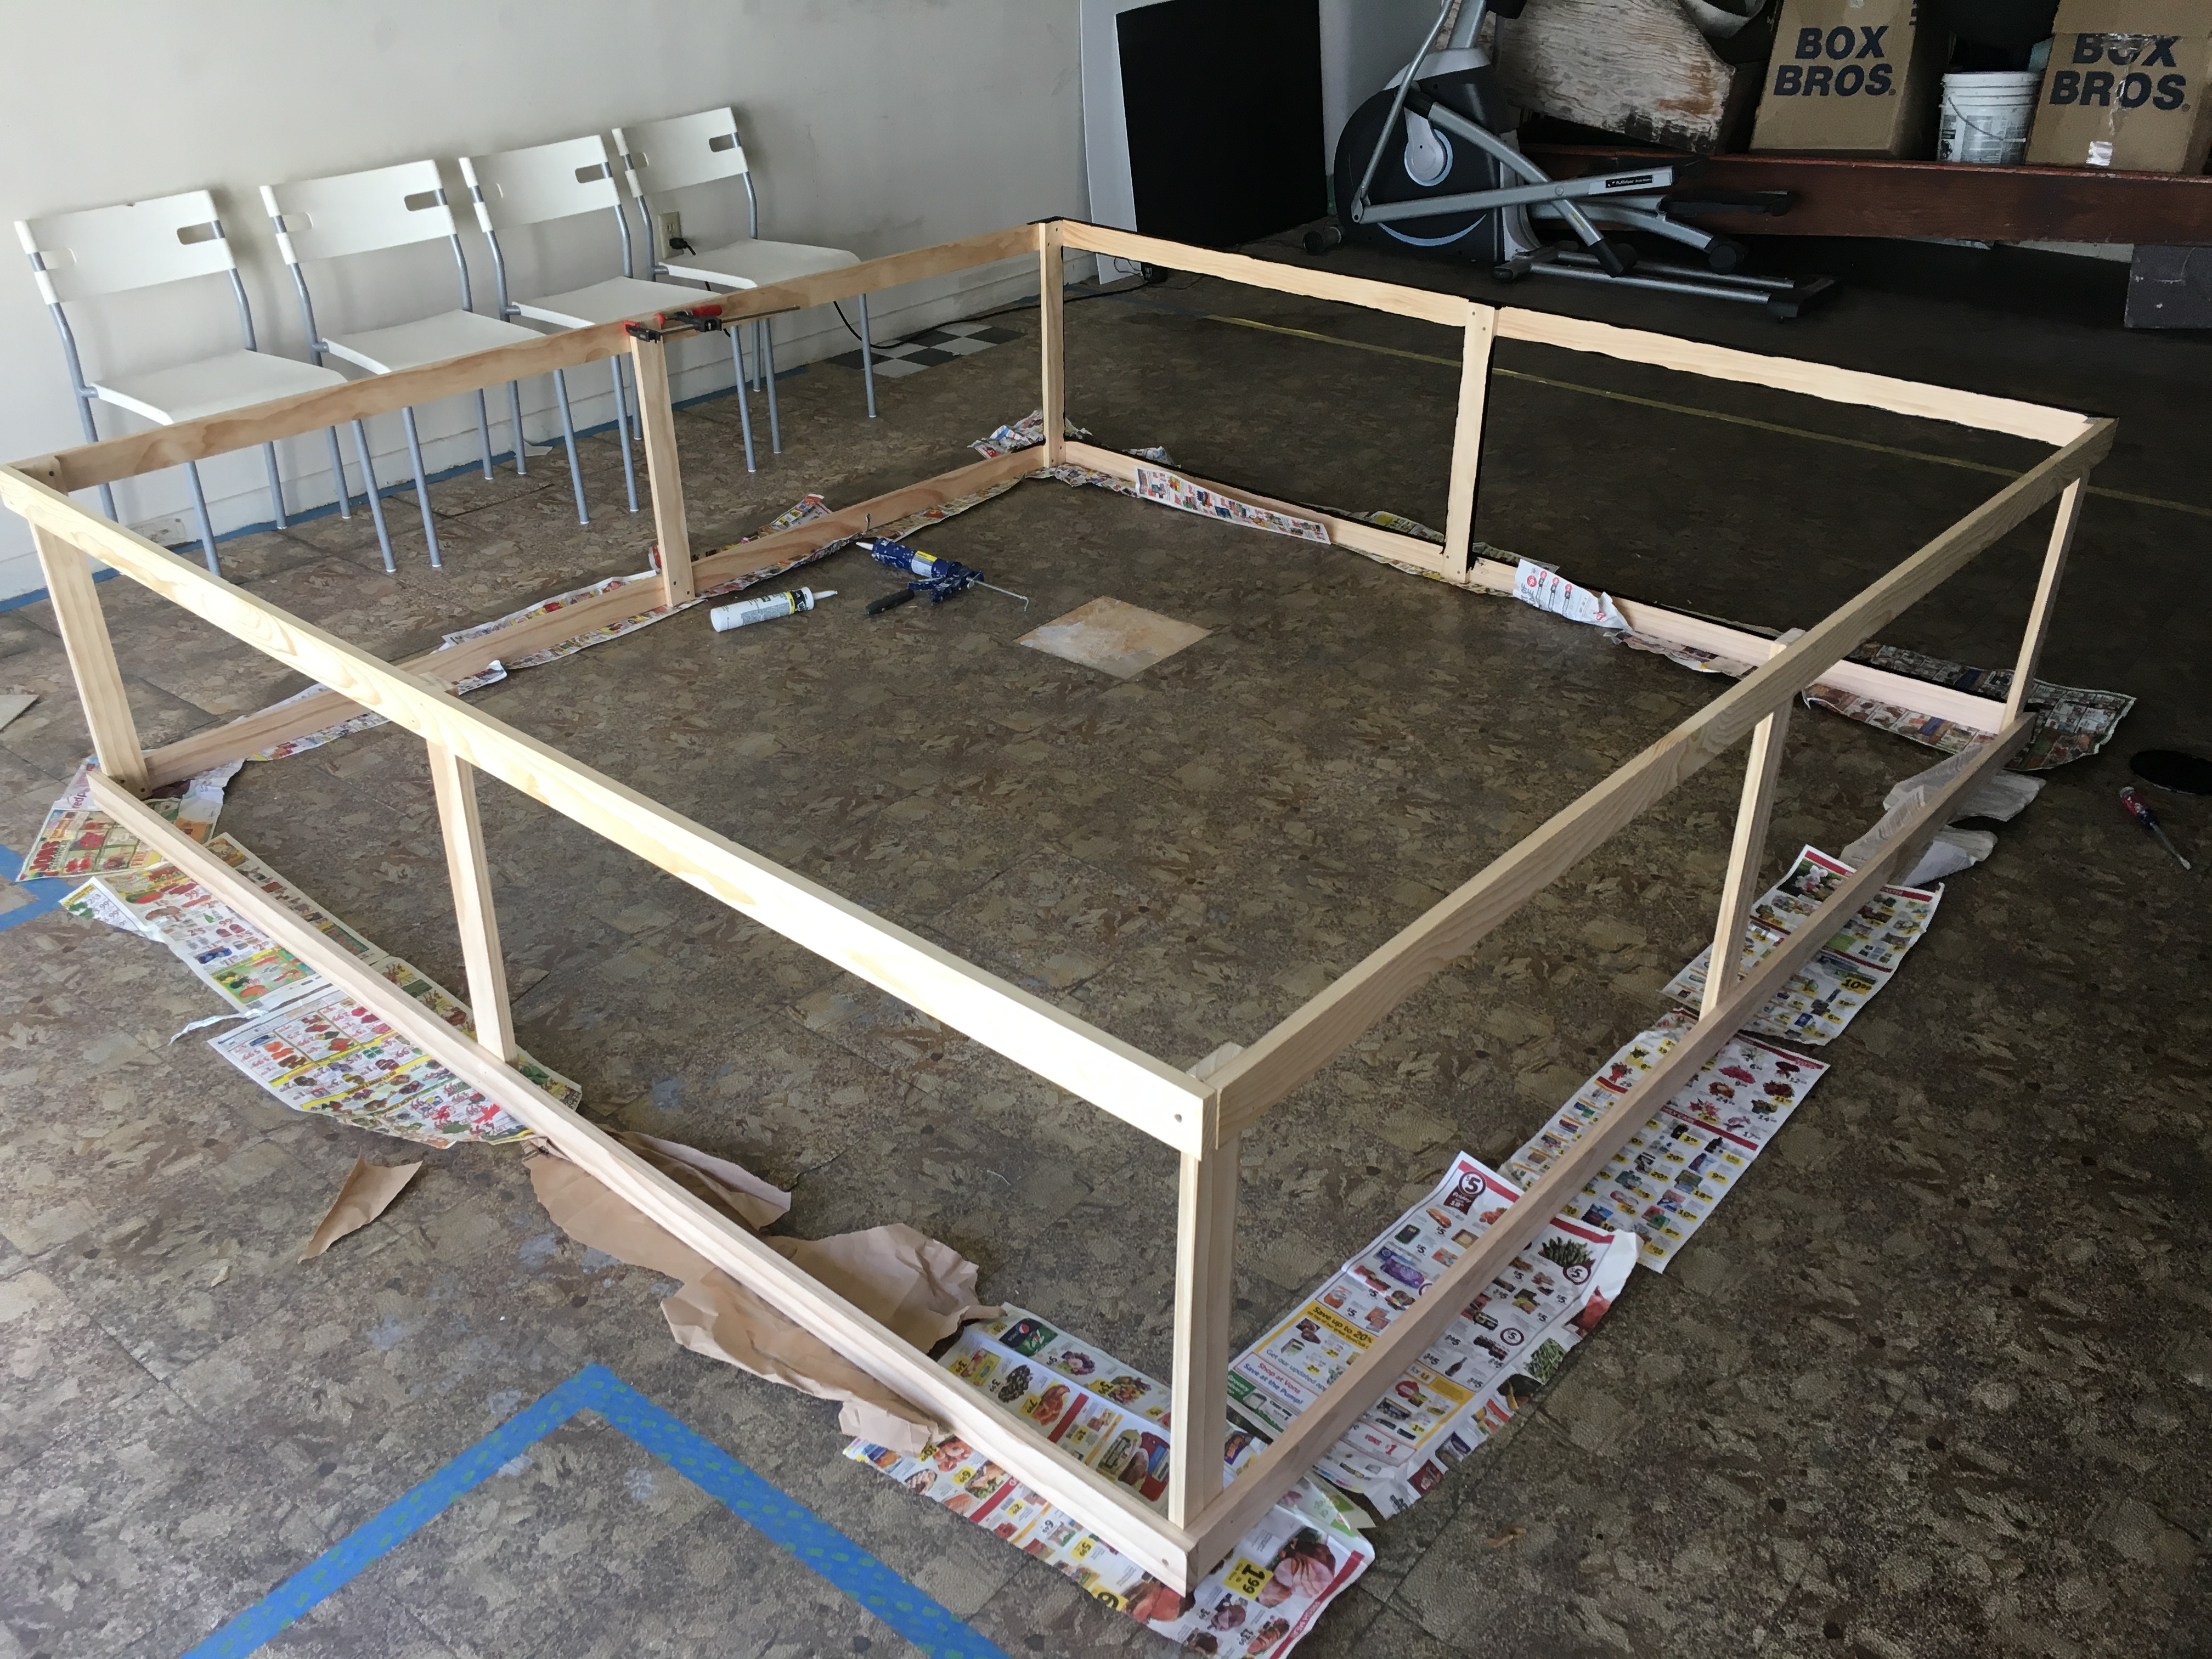
After everything was done, I light-proofed the side walls with duvetyne scraps. Fortunately for me, I’m in Los Angeles, so I had scraps of this stuff lying around. But if I had to buy it, I could get some on Amazon fairly easily.
THE LIGHTS:
I knew I was working with house power in the theater so I needed to keep everything under 18amp’s per line.  That being said, I also needed the box to have an even spread of light that would not only fill the room, but also be able to do it in a graceful and creamy way. Lastly, I needed to get this all done on a DIY theater budget (as cheap as possible). So I decided to go with an arrangement of six 500w halogen flood lamps. I was able to find a great deal on a package of 6 heads from Walmart.com for only $79.00 (no longer available) and since I was spending over $50, shipping was free.
The trick was to get them mounted in a way that was useful for the box and simple to arrange. This was easier said than done. In short, I took the light tube housing and inverted it, then I flattened one side of the tubing and drilled holes into it (to be bolted to the wood frame of the box). The reason I had to do this elaborate rig/hack was because the lights would not sit in any simple way on the frame and point downward into the box (they are designed to shoot upward from a flat surface, and that wasn’t going to work). The final arrangement was three lamps spread 2.6′ feet apart, attached to opposite sides of the box.

POWER
The last concern of mine was the power.
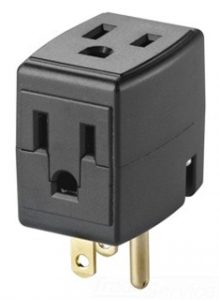
I knew the stage only had 20amp breakers to work with so I simply connected each side into 15amp circuits via a standard Lowes cube tap, and plugged each side into the house grid to be controlled from the mixer board. All in, you get 3,000w of dimmable soft light via six 500w halogen flood lamp heads.
LIGHTING CONTROL
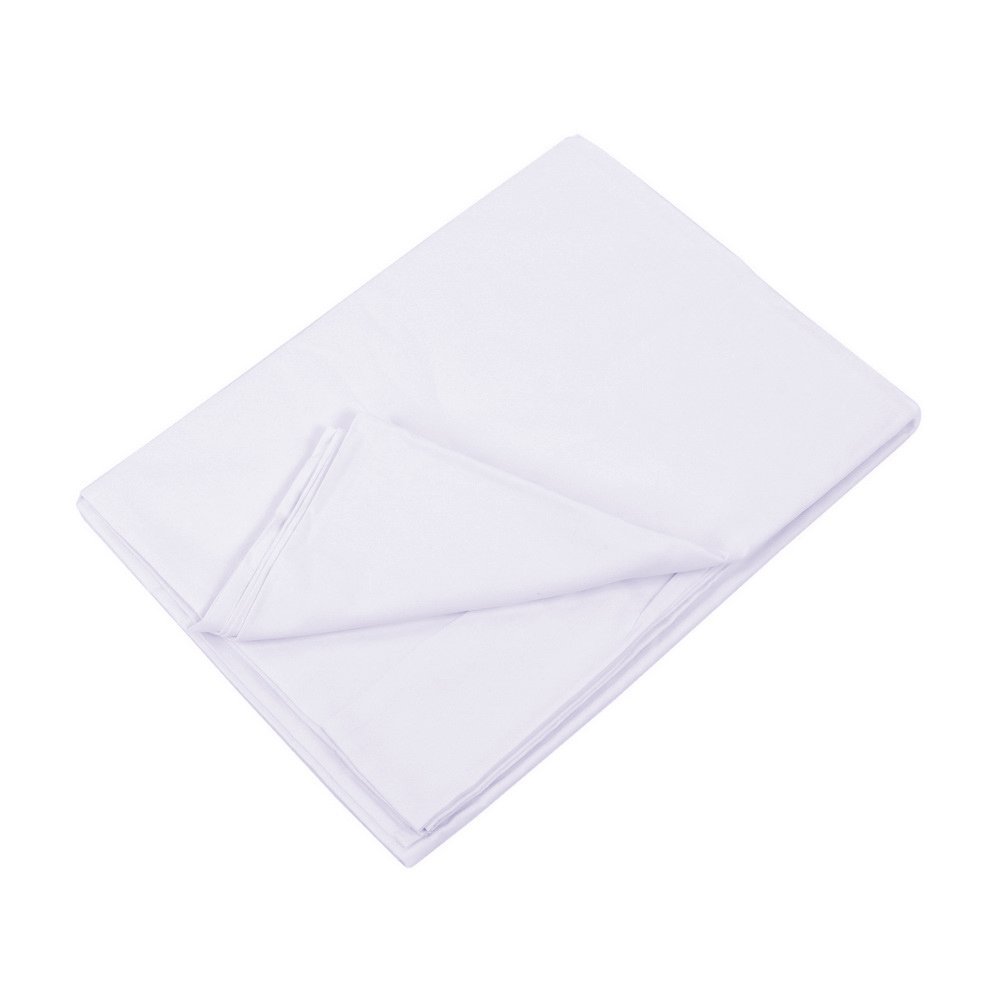 The last step was muslin diffusion. I wanted to have one seamless white bottom on the box; so I looked for sheets wide enough to fit and found a great deal on Amazon for a 10’x12’sheet of bleached muslin for $27! All I had to do after that was cut it to fit and staple it on.

HANGING IT
We actually did this as simple as you may think. Essentially, we tied off all four corners of the box with a clove hitch knot (I had to be taught that by Kyle) and then tied it to point in the celling above. To get things up easy and leveled out, I opted to attach a Nite Ize figure 9 to help. It made things very simple, especially for the days I had to work on the box by myself.
Once up, it hung for 4 weeks and 12 performances. I think the final light level they decided on was 70% on the dimmer overall, to give a warmer look. At the end the total spend was $280. I thought it was worth every dollar!
