I recently got the chance to play with the newly updated Blackmagic 4K Cinema Camera in its long-awaited “RAW” mode and was impressed with what I saw. Let’s start at the beginning, with the camera itself. It’s important to remember that this camera is only $3,000.
PROS:
- Shoots 4K in a few options (RAW, ProRes 422 HQ) and in 1080p (ProRes 422 HQ)
- Available in EF and PL mounts
- Utilizes standard 2.5″ removable SSD drives for media
- Has a true SDI video out
- Simple menu display
CONS:
- Odd form-factor/weight
- Unusable LCD display (for shooting)
- 800 ISO max
- Sharp highlight roll-off
- Pattern noise (this has been minimized with the new update)
CONCLUSION: It’s a good little camera that you will need to buy accessories for to make any quality shooting possible. The image quality is very good, and the price is even better.
One of the things I like about the system is what many say they dislike, its very simple. Arriflex makes a great camera but not only because of its image quality, but in my opinion it has a lot to do with the body design and simple menu interface, it seems that Blakmagic took some notes from their success. Again, you have to remember that this camera cost less than a Canon 5D and it allows you to shoot 24p 4k .DNG RAW- and thats pretty impressive.
I was shooting an internet ad for a fantasy football mobile app, and as with most internet projects, the budget was small and the turnaround time was even smaller. Here is how the Blackmagic worked out for us:
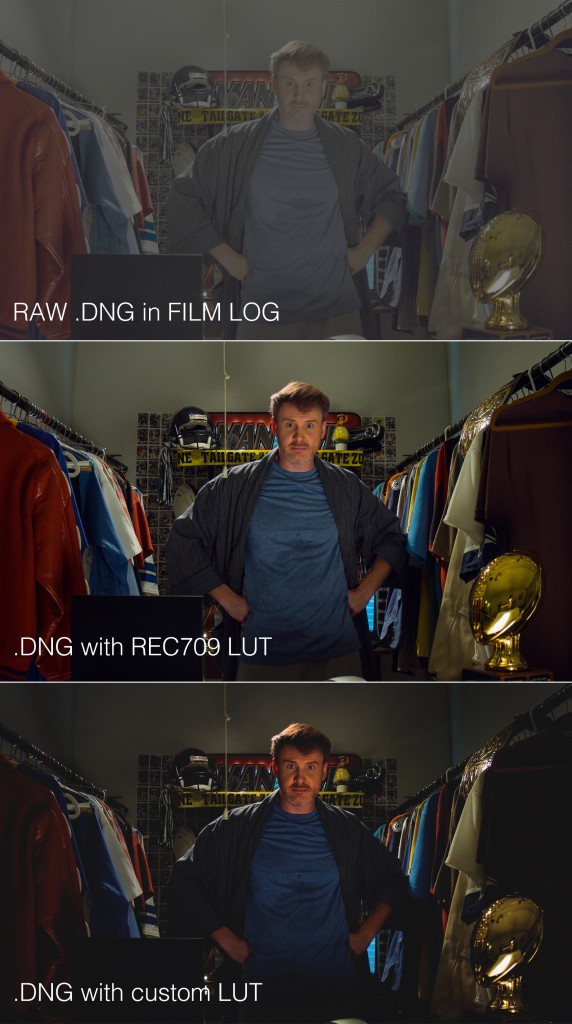
The new software update to the camera allowed for more options than before but all I was really concerned with was the RAW recording option. After a few hours of tests, we came up with two very simple rules: shoot at 400 iso; and handle highlights as best we can. What I noticed right away was that the camera didn’t have the best natural roll-off of exposure in the high-end (monitoring in REC709). It would start to break apart a little after 2+ stops. And as for the low end, the camera tended to only get noisy in warmer shadow areas. Those are not unworkable problems, especially when shooting in RAW. I always chose to base exposure off a monitor in REC 709 color space out straight out of the camera. Usually, this allows you to see a higher contrast image, so if the camera is holding everything the way you want it to, you have 20% more room on the top-end and bottom-end of exposure in RAW.
The last tool they threw in the box is a complete copy of DaVinci Resolve that bought separately would cost you $1000. This is a high-end color grading system with a legacy of innovation in its field. Since Blackmagic’s acquisition, the program has seen many new overhauls, including: handling many different video and RAW formats with full metadata control, format conversion, and transcending options. It now (in version 11) full online editorial options.
Here is a .DNG frame of a their contrast scene:


